
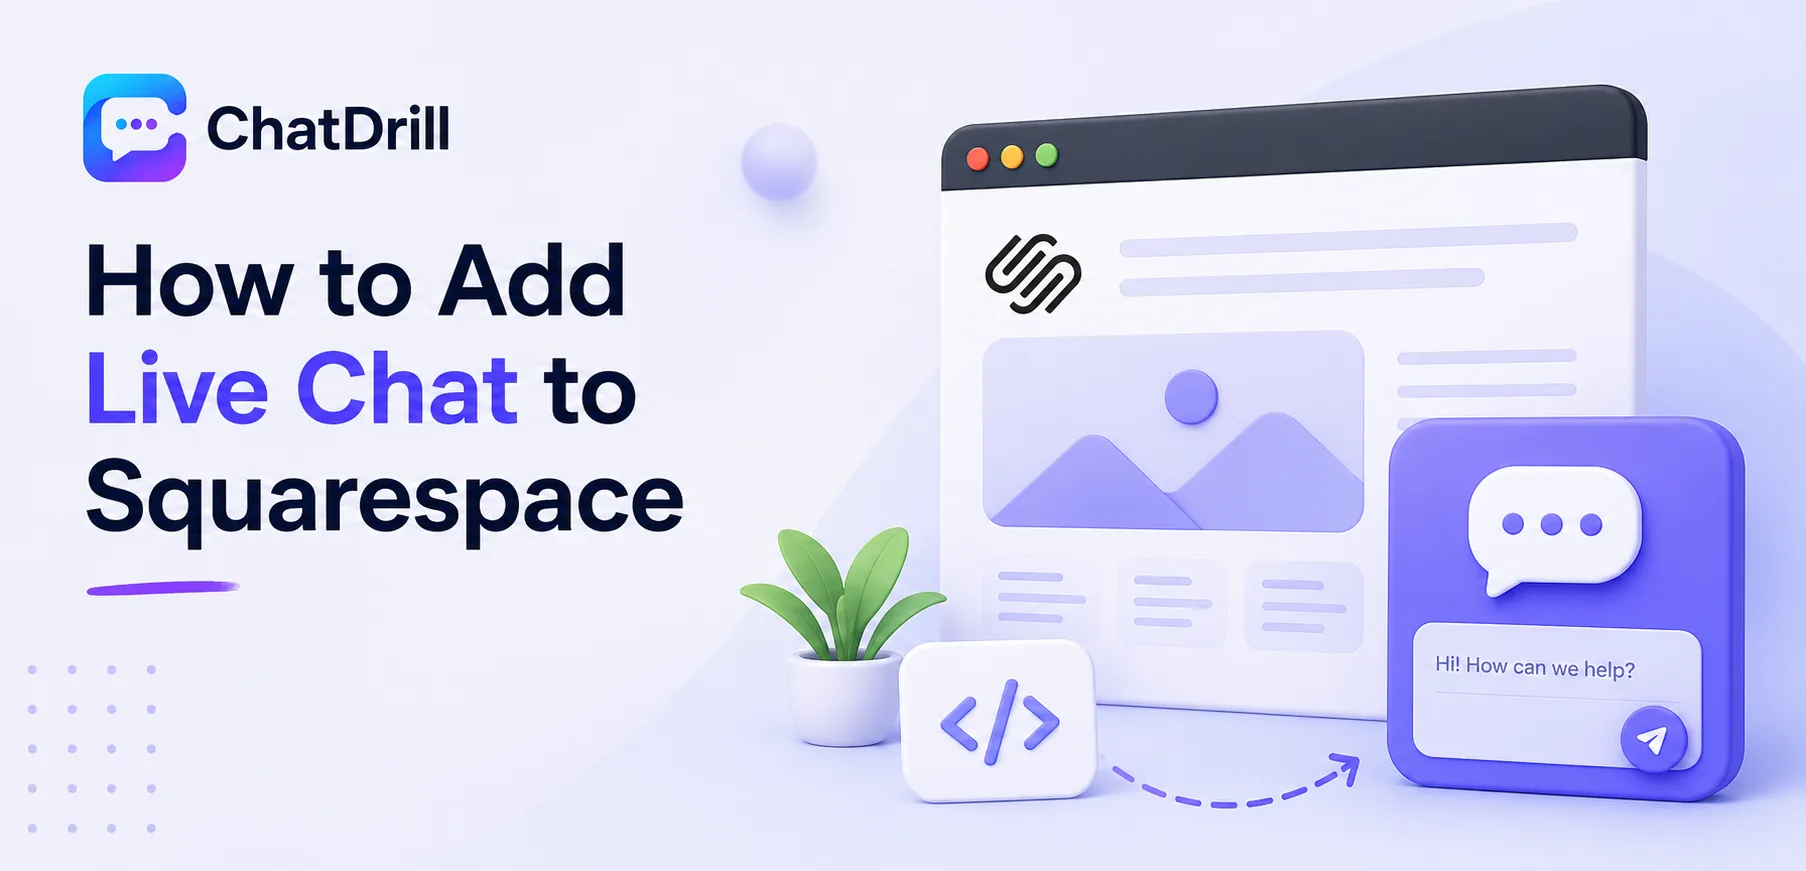
Squarespace doesn't have a dedicated app marketplace for live chat the way some other website builders do, so most chat platforms are added through Squarespace's Code Injection feature, pasting a snippet of code that places the widget site-wide.
This single-method approach is actually simpler than platforms with multiple installation paths, once you know where Code Injection lives in the settings, adding chat is a genuinely quick, one-time setup.
Getting the placement right matters, adding code to the site-wide header rather than a single page's settings ensures the chat widget appears consistently everywhere a visitor might land.
This guide covers the step-by-step Code Injection process, what to configure afterward, common mistakes, and mistakes worth avoiding.
Quick answer: You can add live chat to a Squarespace site by pasting a chat platform's embed code into the Code Injection settings under Site-Wide Header, which places the widget across every page without needing a separate app for each one.
Why Code Injection Is the Standard Method
Squarespace relies on its Code Injection feature for adding live chat, since it doesn't offer a dedicated app marketplace, making this the standard, most reliable installation path across nearly every chat platform.
The absence of a dedicated app marketplace
Unlike some website builders with a built-in app store for adding features like chat, Squarespace's extensibility model relies more heavily on direct code embedding for this kind of functionality.
This makes Code Injection the consistent, standard path regardless of which specific chat platform you're using, rather than a special case for certain providers.
Why site-wide header placement matters
Adding your chat code to the site-wide header, rather than a single page's individual settings, ensures the widget appears consistently across your entire site without needing to repeat the setup for every page.
This distinction is worth understanding clearly before starting, since placing code in the wrong location can result in chat appearing on only one page instead of your whole site.
Step-by-Step: Adding Chat via Code Injection
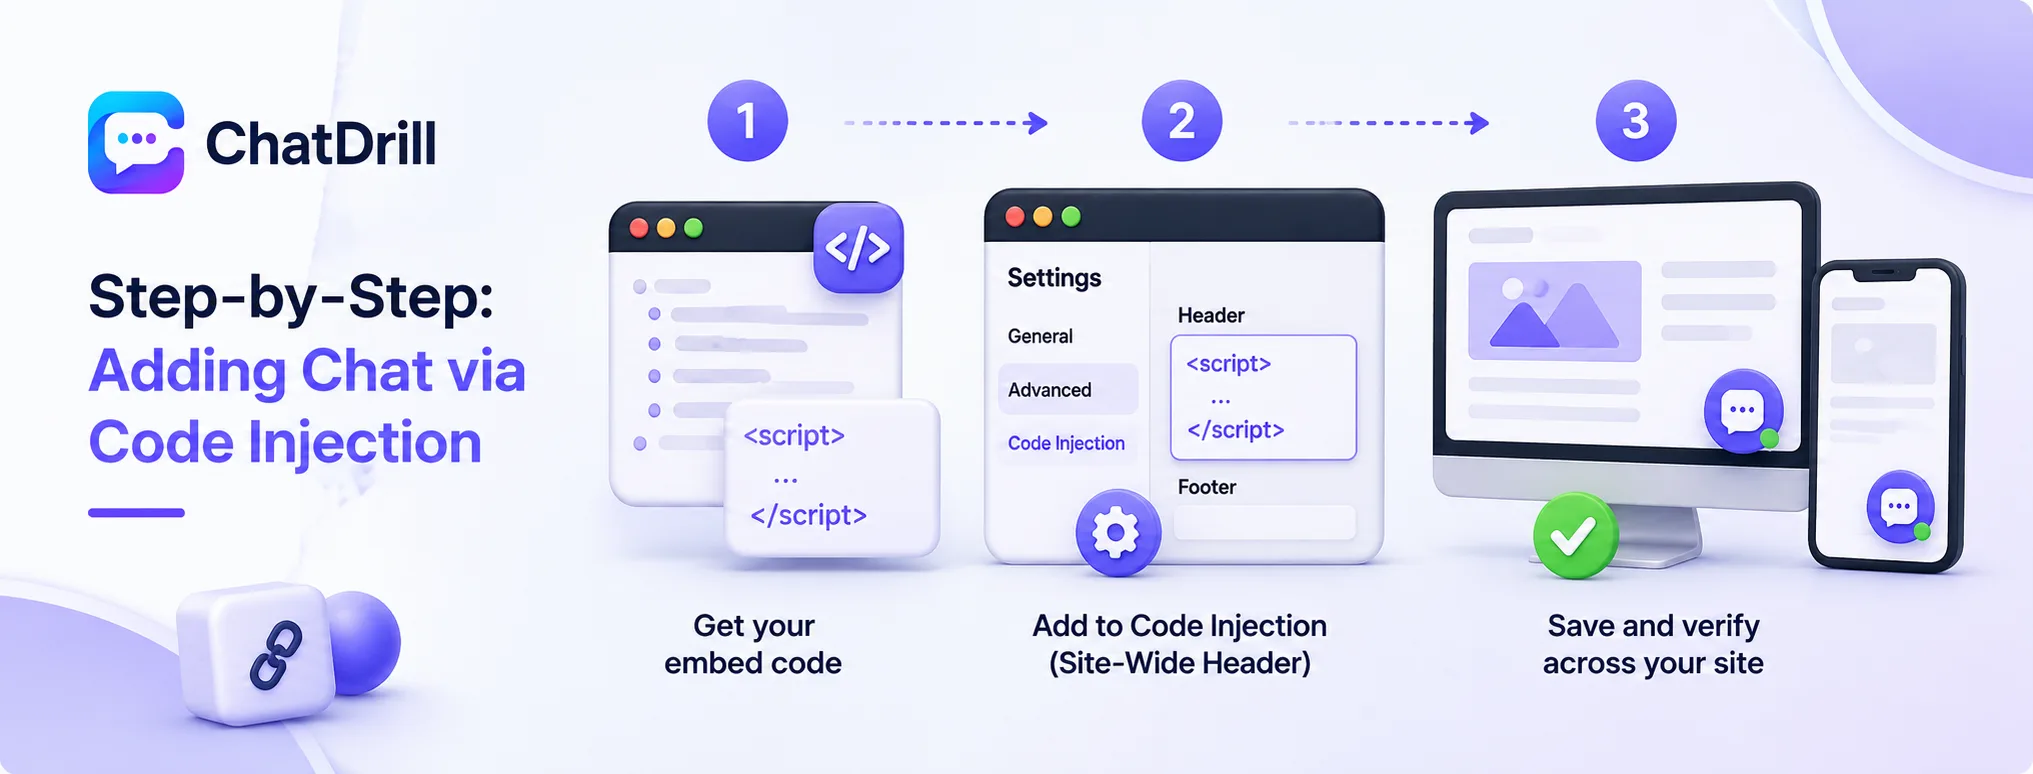
Adding chat via Code Injection involves getting your embed code from the chat platform, pasting it into the Site-Wide Header section of Squarespace's settings, and verifying it appears correctly across your site.
Step 1: Get your embed code
Your chat platform provider will supply a snippet of HTML or JavaScript code specifically meant for website embedding, typically found in the platform's installation or settings section.
This code is what connects your Squarespace site to your chosen platform's full chat and AI capability.
Step 2: Navigate to Code Injection settings
From your Squarespace dashboard, navigating to Settings, then Advanced, then Code Injection surfaces the fields where site-wide code can be added.
Pasting your chat platform's code specifically into the Header field, rather than the Footer field, generally ensures the widget loads and displays correctly.
Step 3: Save and verify across your site
Saving the Code Injection settings and then checking your live site across several different pages confirms the chat widget appears consistently everywhere as intended.
This verification should include checking both desktop and mobile views, given how chat widgets can render differently across device sizes.
Configuring Your Chat Widget After Installation

After installation, configure your business hours, initial greeting message, and AI training content directly within your chat platform's own dashboard, separate from the Squarespace embed itself.
Setting business hours and greeting
Most of these settings are configured within your chat platform's own dashboard rather than through Squarespace, since the embedded code simply displays whatever the platform is configured to show.
Reviewing these settings promptly after installation ensures visitors see an appropriate greeting and accurate availability information from the very start.
Training AI on your specific content
Feeding your chat platform's AI genuine information about your products, services, and common customer questions, done through the platform's own training interface, makes the embedded widget genuinely useful rather than a generic message relay.
This training investment matters regardless of which website builder you're using, since the platform's AI quality is independent of how the widget is technically embedded.
Common Mistakes When Adding Chat to Squarespace
The most common mistakes are pasting code into the Footer instead of the Header field, forgetting that widget configuration happens in the chat platform's own dashboard, and not verifying the widget across multiple pages after installation.
Pasting code into the wrong field
Placing chat embed code into the Footer field instead of the Header field can sometimes cause the widget to load incorrectly or not display as expected.
Double-checking which field the specific platform recommends, usually the Header, before saving avoids this common setup mistake.
Assuming Squarespace controls widget settings
Looking within Squarespace itself for chat configuration options like business hours or AI training, rather than the chat platform's own dashboard, leads to confusion since these settings live separately from the embed code.
Understanding this separation upfront saves time troubleshooting settings in the wrong place.
Not verifying across multiple pages
Checking only the homepage after installation can miss an issue where the widget doesn't appear correctly on other page templates or layouts within the same site.
Testing across several different pages, including any custom page types, confirms the site-wide placement is genuinely working everywhere.