
Adding live chat to a WordPress site takes two forms: installing a dedicated plugin, which is the fastest and most reliable route for most sites, or pasting a small JavaScript snippet directly into the theme, which works everywhere but requires a bit more comfort editing site code.
Both methods lead to the same result, a chat widget rendering in the corner of every page, but they differ in how they're maintained. A plugin updates itself and integrates with WordPress's admin dashboard, while a manually pasted script needs to be re-added if a theme changes.
For most WordPress site owners, especially those without a developer on hand, the plugin route is the more sustainable choice, since it avoids touching theme files directly and keeps the chat widget update process automatic.
That said, some site owners specifically prefer the code-snippet method for finer control over exactly where and how the script loads, particularly on custom-built themes where a plugin's assumptions about page structure don't always fit cleanly.
This guide covers what to prepare before starting, the plugin installation method step by step, the manual code method as an alternative, how to customize the widget once it's live, and how to troubleshoot the most common setup issues.
What You Need Before Adding Live Chat to WordPress
Before adding live chat to WordPress, you'll need admin access to the WordPress dashboard, a live chat account already set up with a business name and basic configuration, and roughly ten to fifteen minutes for the installation itself.
WordPress admin access
You'll need at least Editor-level access to install a plugin, or Administrator access specifically if the plugin requires activation permissions beyond basic content editing.
If you're working with a site managed by someone else, confirming this access level upfront avoids a mid-installation surprise where a step requires permissions you don't have.
A live chat account already configured
Sign up for a live chat account and complete the basic setup, business name, greeting message, and business hours, before starting the WordPress installation itself.
Having this configuration done in advance means the WordPress side of setup is purely about connecting the widget, not also making these decisions under time pressure.
About ten to fifteen minutes
The plugin method typically takes under fifteen minutes from start to finish for a straightforward WordPress site without unusual customization.
Sites with heavy caching or a complex custom theme may need a few extra minutes to confirm the widget renders correctly across different page types.
Method 1: Installing Live Chat via a WordPress Plugin
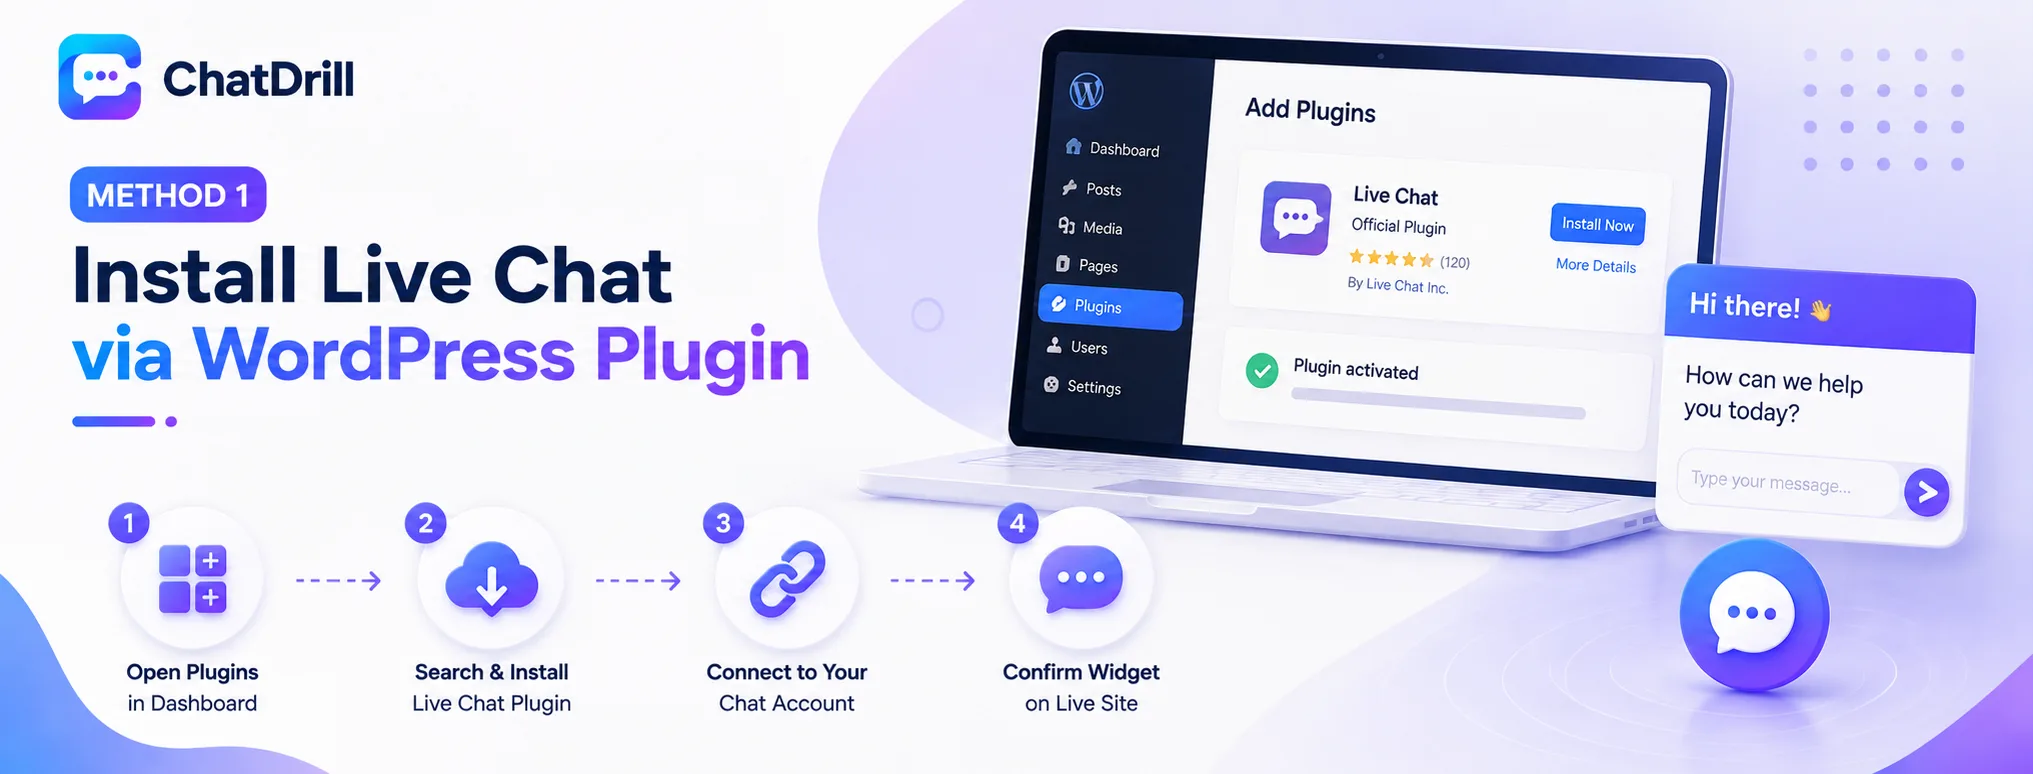
The plugin method is the fastest, most maintainable way to add live chat to WordPress, involving installing the plugin from the dashboard, connecting it to your chat account, and confirming the widget appears on the live site.
Step 1: Open the Plugins section of your dashboard
From the WordPress admin sidebar, navigate to Plugins, then Add New, which opens the plugin search and installation screen.
This is the same starting point regardless of which live chat provider's plugin you're installing, making the process familiar even across different chat platforms.
Step 2: Search for and install the live chat plugin
Search for your live chat provider's official plugin by name, confirming it's the verified plugin from the actual provider rather than a similarly named third-party alternative.
Click Install, then Activate once the installation completes, which adds a new menu item to the WordPress dashboard for the chat plugin's settings.
Step 3: Connect the plugin to your chat account
Open the plugin's new settings page and enter the account connection details, typically an API key or a simple login flow, to link WordPress to your live chat account.
Most providers guide you through this connection with a clear on-screen prompt, so this step rarely requires locating credentials manually.
Step 4: Confirm the widget appears on the live site
Open your site in a new browser tab, ideally in an incognito window to avoid any cached admin session, and confirm the chat widget renders in the expected corner of the page.
Checking both a desktop and mobile view at this stage catches any rendering issues specific to one device type before they become a real problem.
Method 2: Adding Live Chat With a Code Snippet
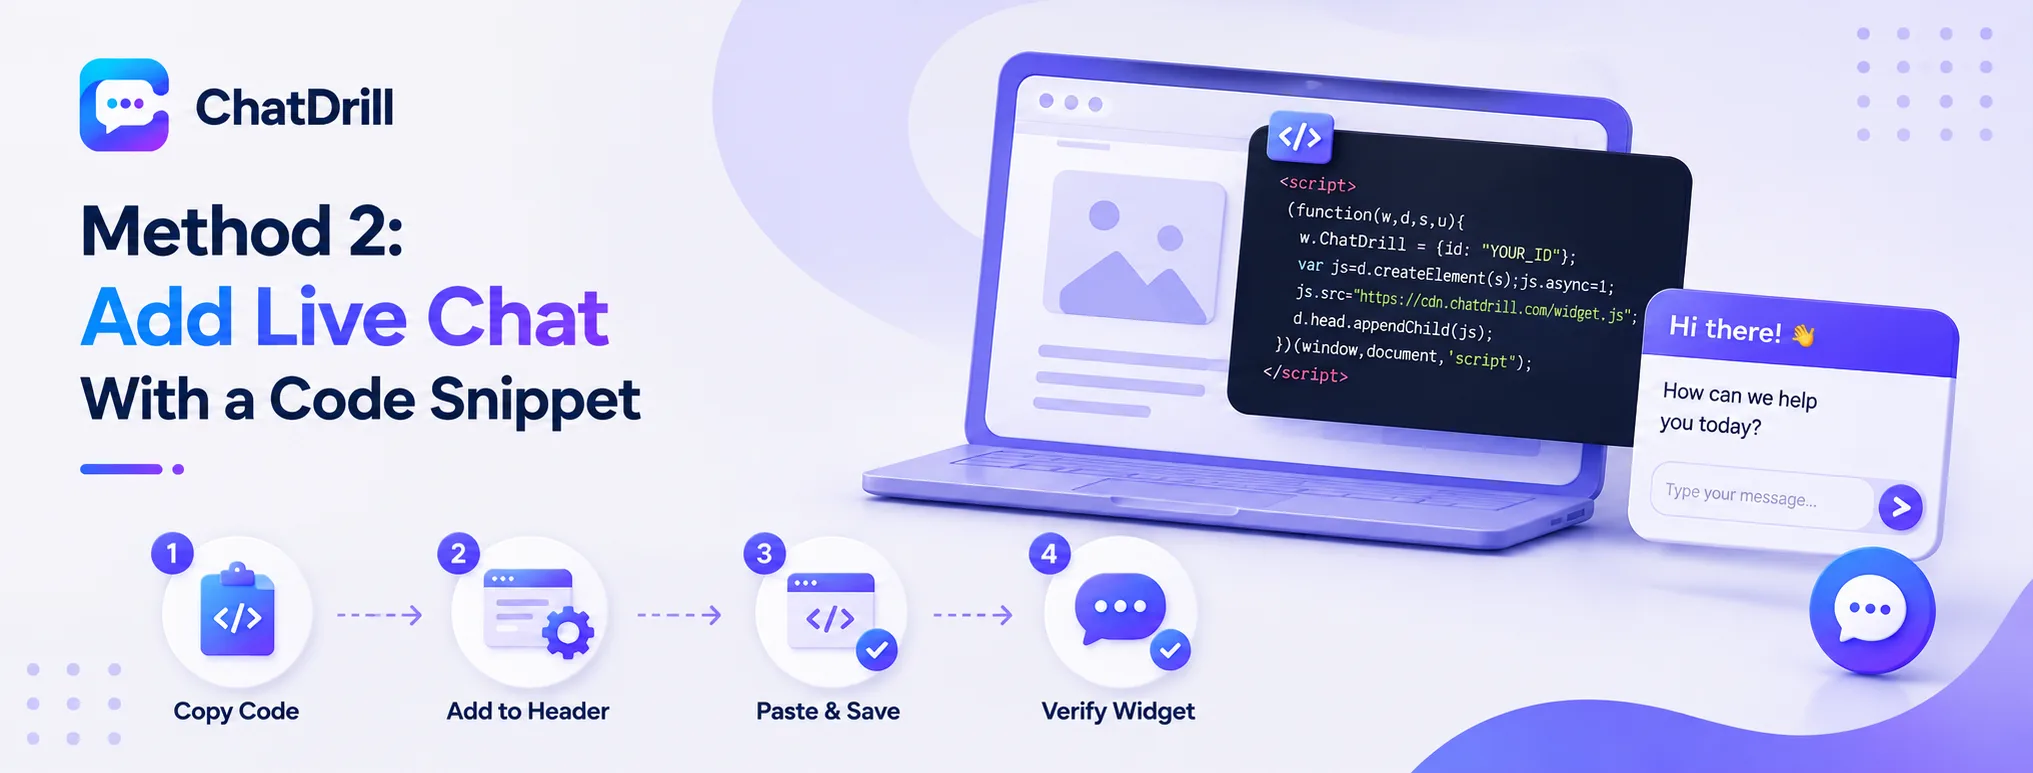
The code-snippet method involves pasting a small JavaScript snippet into your theme's header, either through the WordPress Customizer's code injection option or directly into the theme's header.php file, giving finer control at the cost of manual maintenance.
Step 1: Copy the chat widget's tracking code
From your live chat account's settings, locate and copy the JavaScript tracking snippet provided specifically for manual website installation.
This snippet is typically a short block of code meant to be pasted once, near the closing head tag of every page on the site.
Step 2: Add the snippet via the Customizer or a header plugin
Many WordPress themes include a Customizer option for adding custom code to the site header, avoiding the need to edit theme files directly.
Alternatively, a lightweight "header and footer scripts" plugin provides the same capability without touching the Customizer, a reasonable choice if your theme doesn't offer this option natively.
Step 3: Paste the snippet and save
Paste the copied tracking code into the header script field and save the changes, which applies the snippet across every page on the site immediately.
It's worth reviewing the snippet once more before saving, confirming no extra characters were accidentally added or removed during the copy-paste process.
Step 4: Verify the widget loads correctly
Reload the live site in a fresh browser tab and confirm the chat widget appears, checking a few different page types, homepage, a blog post, a product page if applicable.
If the widget doesn't appear, clearing any site caching plugin's cache is the most common fix, since a cached version of the page may not include the newly added script yet.
Customizing the Widget on WordPress
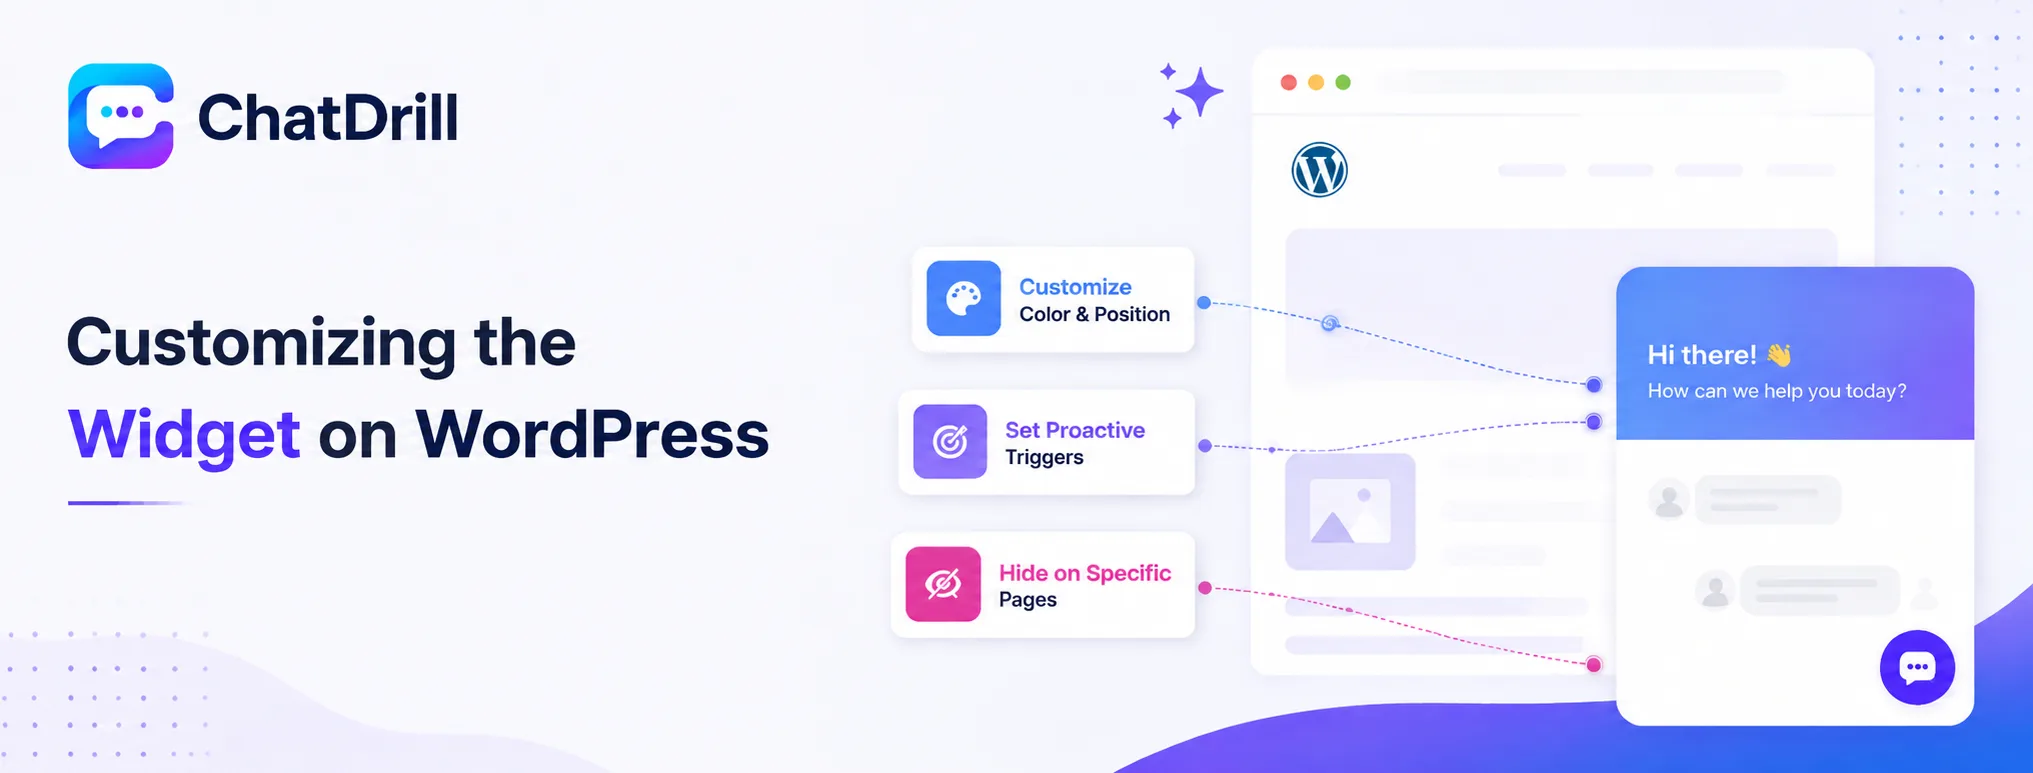
Once installed, the widget's appearance, behavior, and triggers can generally be customized directly from your live chat provider's dashboard rather than requiring further changes inside WordPress itself.
Changing widget color and position
Most live chat platforms let you set the widget's color, corner position, and greeting message from the provider's own dashboard, without needing to touch WordPress again.
Matching the widget color to your site's brand palette is a small detail that noticeably improves how integrated the chat experience feels.
Setting up proactive triggers for key pages
Configure a proactive trigger to open the widget automatically on high-intent WordPress pages, a pricing page or a specific landing page, rather than waiting for a manual click.
This is typically set up entirely within the chat provider's dashboard by specifying a URL pattern that matches the target WordPress page.
Hiding the widget on specific pages
Some chat providers support page-specific display rules, letting you hide the widget on a checkout page or an internal admin-facing page if needed.
Where the provider doesn't support this natively, a small custom code condition checking the WordPress page template can achieve the same result.
Troubleshooting Common WordPress Chat Widget Issues
The most common WordPress chat widget issues are caching preventing the new script from loading, a theme conflict hiding the widget behind other page elements, and plugin conflicts between the chat plugin and other installed plugins.
Widget not appearing after installation
Clearing your site's caching plugin, and any CDN cache if one is in use, resolves this issue in most cases, since a cached page version won't include a newly added script.
If clearing cache doesn't resolve it, confirming the plugin is actually activated, not just installed, catches the second most common cause.
Widget appearing behind other page elements
A theme's custom CSS can sometimes cause the chat widget to render behind other elements due to a conflicting z-index value.
Most chat providers let you adjust the widget's z-index directly from their dashboard settings, resolving this without needing to edit the WordPress theme's CSS at all.
Conflicts with other WordPress plugins
If the widget behaves unexpectedly after installation, temporarily deactivating other recently installed plugins one at a time helps isolate whether a specific plugin is conflicting with the chat script.
This process of elimination, rather than guessing, is the most reliable way to identify a genuine plugin conflict versus an unrelated configuration issue.
Adding Live Chat to a Multilingual WordPress Site
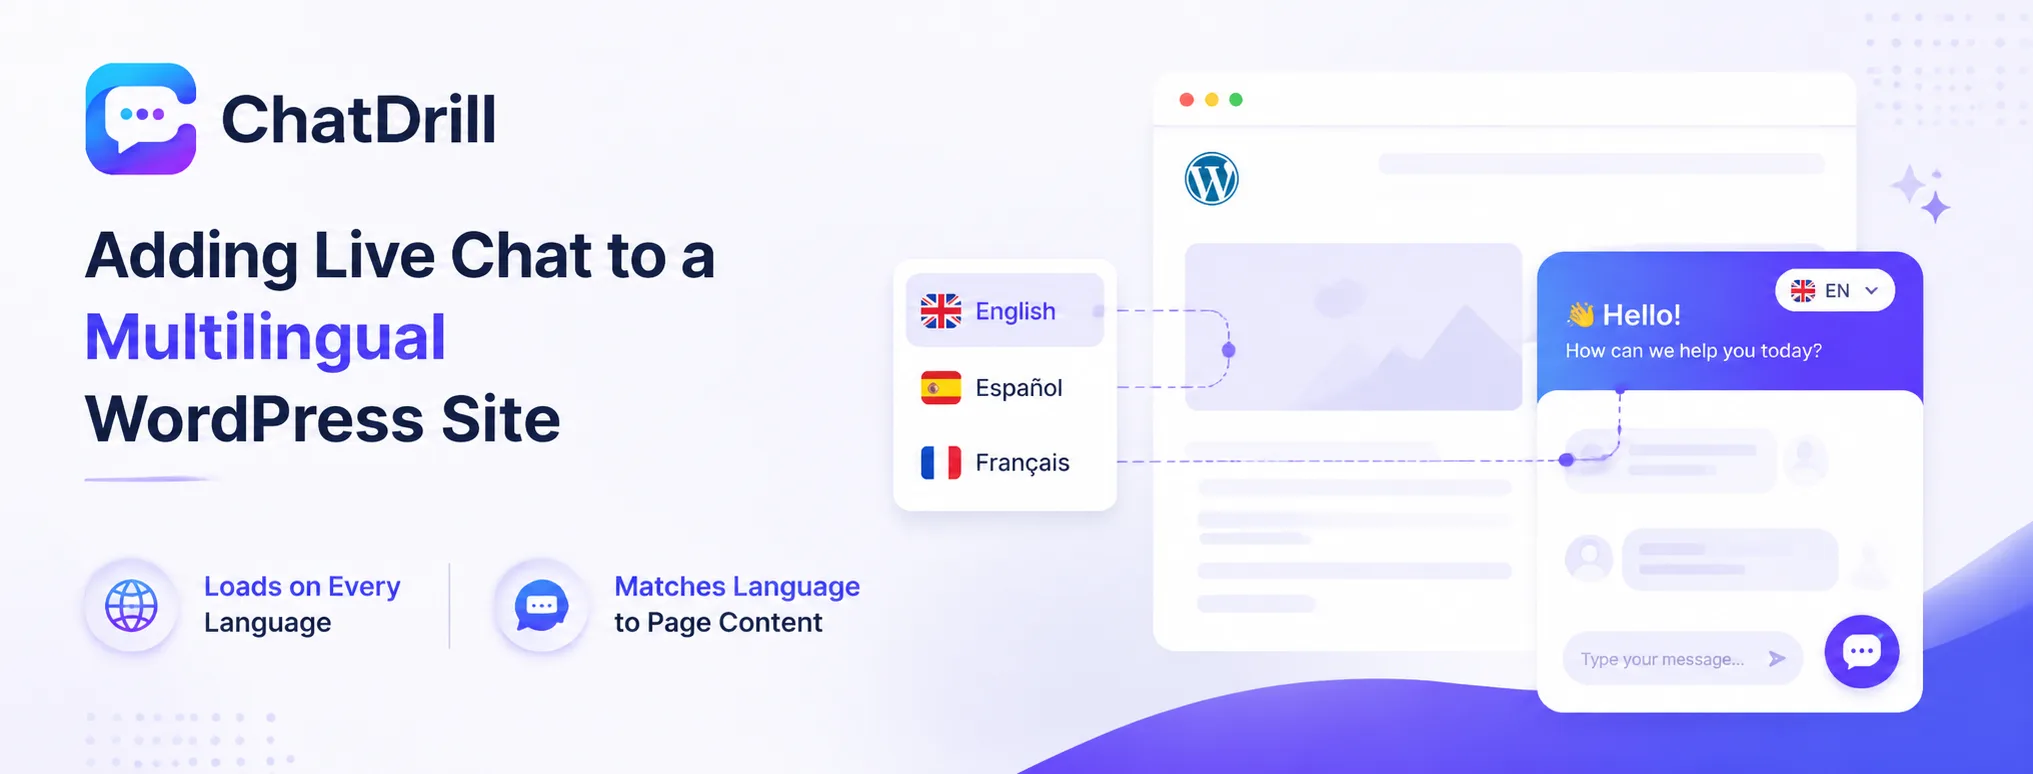
A WordPress site running a multilingual plugin like WPML or Polylang needs a couple of extra considerations: confirming the chat widget script loads consistently across every language version of the site, and setting the widget's default language to match each page's actual content language.
Confirming the widget loads on every language subdirectory
Multilingual plugins often serve different languages from separate URL subdirectories or subdomains, so it's worth checking that a site-wide plugin or script placement actually covers every language version, not just the default one.
Testing a non-default language page specifically, rather than assuming the primary language page's success means every version works, catches this gap early.
Matching the widget's language to page content
Most live chat platforms let you set a default greeting language, or detect it automatically from browser settings, worth configuring explicitly rather than assuming visitors on a translated page will see a matching greeting.
Reviewing this on the actual translated pages, rather than testing only the primary language version, confirms visitors get a coherent, language-matched chat experience.
Adding Live Chat to a WordPress Membership or LMS Site
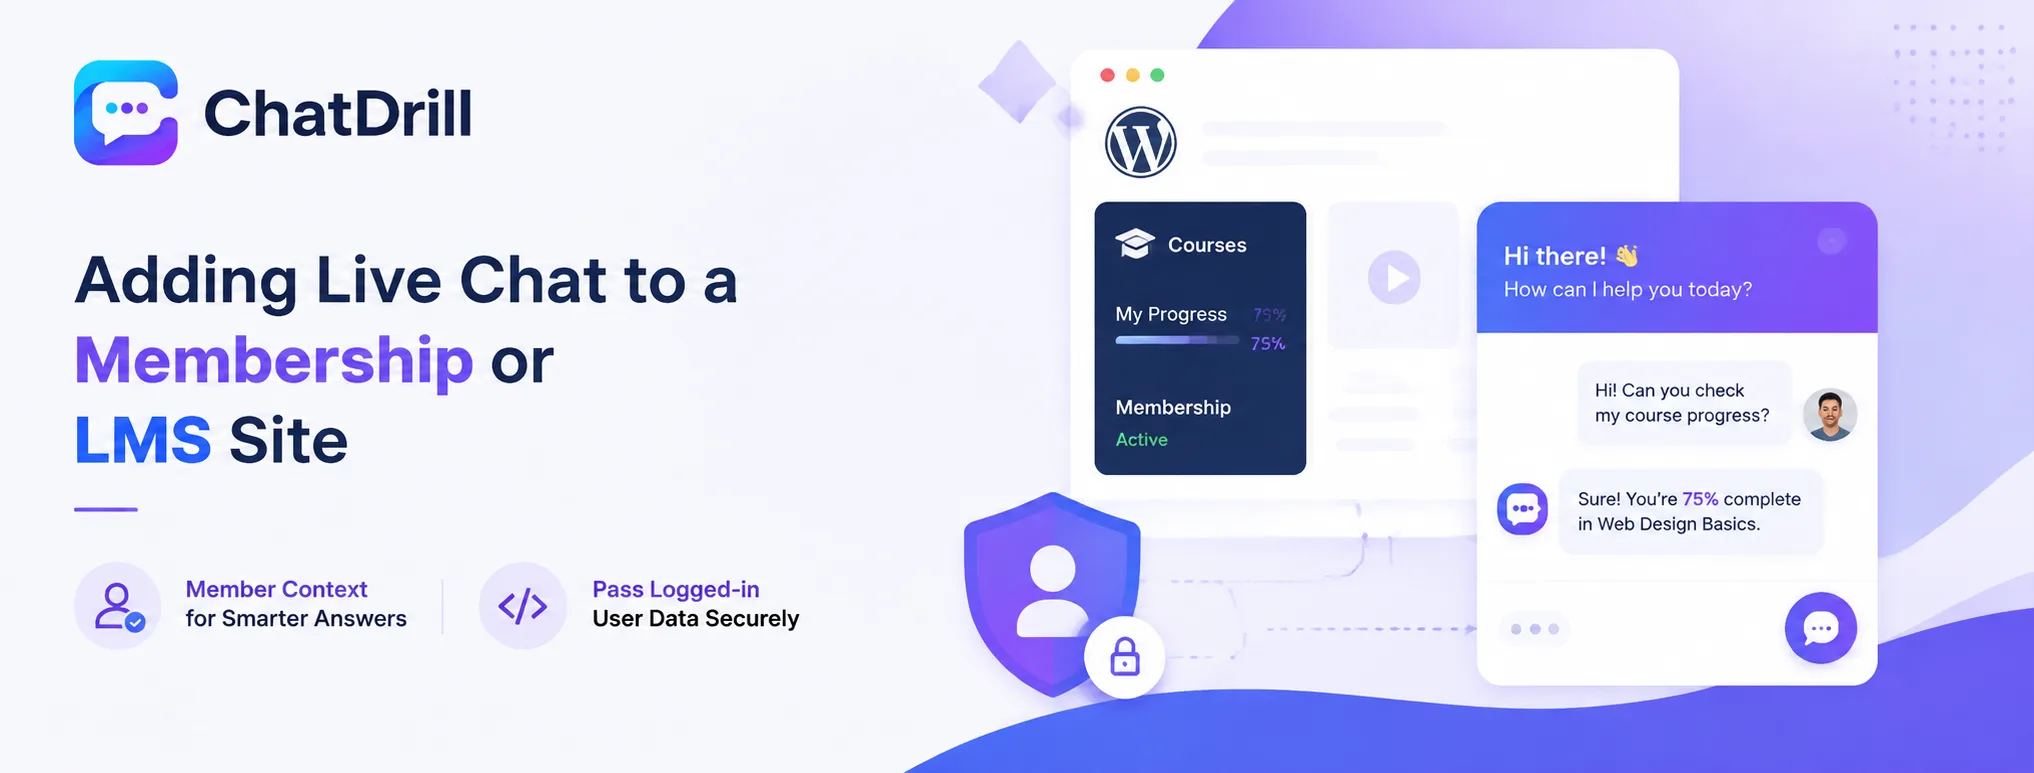
A WordPress site running a membership or learning management plugin benefits from a chat widget that can distinguish logged-in members from anonymous visitors, letting AI give account-specific answers rather than generic responses.
Why member context matters for a membership site's chat
A logged-in member asking about their course progress or subscription status benefits from a chatbot that can reference their actual account status, not a generic answer meant for any visitor.
This distinction matters most for support-heavy membership sites, where account-specific questions make up a meaningful share of total chat volume.
Passing logged-in user data to the widget
Most chat platforms support passing a logged-in user's name and account details into the widget through a small snippet of custom code tied to your membership plugin's user data.
This typically requires a developer familiar with both your membership plugin's data structure and the chat platform's identification method, a reasonable one-time setup investment for a support-heavy site.